Amp Chart
Table of Contents
Overview
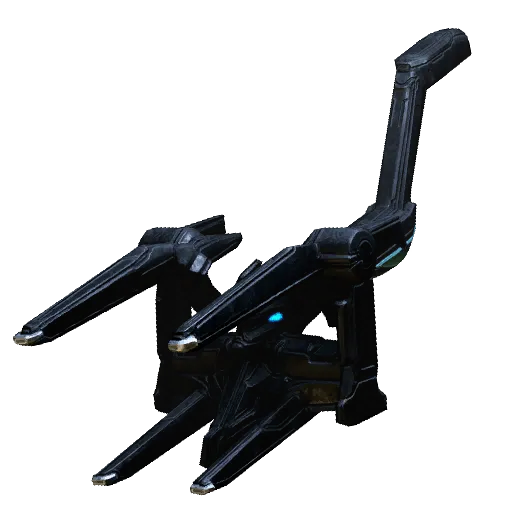
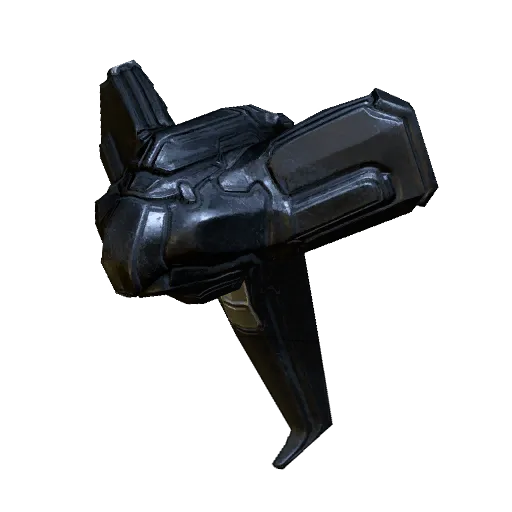
Amps are modular weapons used by the Operator or Drifter in combat.
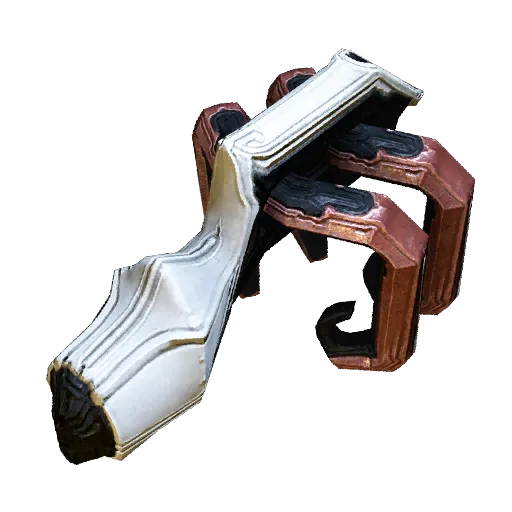
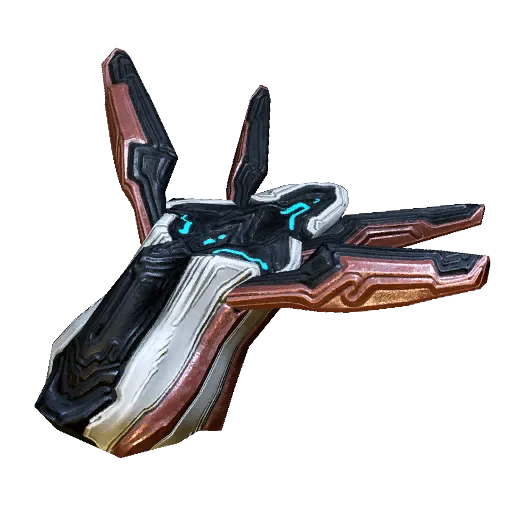
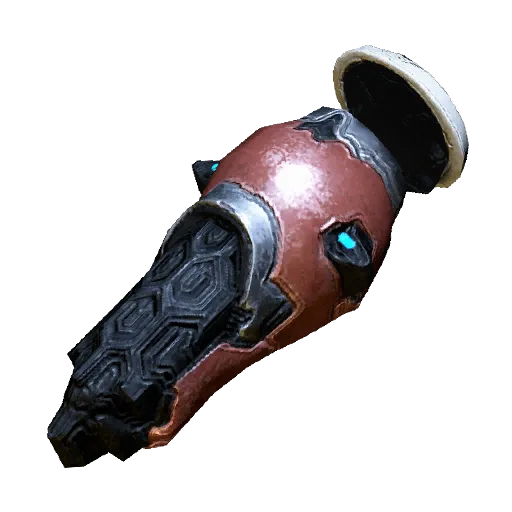
Players typically refer to amps by a series of numbers, using XXX notation that represents the Prism-Scaffold-Brace, where X is the tier of each part. For example, a 132 is an amp with a Raplak Prism, Klebrik Scaffold, and Juttni Brace.
Tiers 1-4 come from the Quills on Cetus, while Tiers 5-7 are obtained from Vox Solaris on Fortuna.
Amp Recommendations
Below are some of the amps I've used and recommend for different stages of the game. However, these are not the only viable options, and part of the fun can come from testing out different combinations to find what works best for you.
Starter/Early Amps
- 111 - Precision shot with an 'Opticor-esque' alt-fire
- 123 - Precision shot with an 'Arca Plasmor-like' alt-fire
Mid/Late Amps
- 547 - Burst shot with a ricocheting 'glaive' alt-fire. Fantastic for general purpose use and cascade missions
- 1X7 - Good for cascades and eidolon hunting but requires precise aiming
- 7X7 - Short range wide beam. A solid all-purpose option that deals less damage than other prisms but requires very little aim *X can be anything but is typically the 4 or 7 scaffold in the mid/late game
Amp Chart
| The Quills | Vox Solaris | ||||||
|---|---|---|---|---|---|---|---|
1 |
2 |
3 |
4 |
5 |
6 |
7 |
|
| X _ _Prism |
 Raplak Prism
Semi-auto, long-range, precise hitscan.
|
 Shwaak Prism
Semi-auto, medium range, punch-through projectile.
|
 Granmu Prism
Three-shot grenade burst.
|
 Rahn Prism
Fully-auto, long range shots.
|
 Cantic Prism
Quick and precise three-shot burst.
|
 Lega Prism
Continuous, widespread jet of void fire, medium range.
|
 Klamora Prism
Wide, short ranged beam.
|
| _ X _Scaffold |
 Pencha Scaffold
Charged beam.
|
 Shraksun Scaffold
Short-range flak grenade.
|
 Klebrik Scaffold
Continuous homing beam.
|
 Phahd Scaffold
Powerful shots bounce between targets.
|
 Exard Scaffold
Automatic grenade launcher, fires until out of ammo.
|
 Dissic Scaffold
Clusterbomb launcher.
|
 Propa Scaffold
Timed explosive, also detonates on impact.
|
| _ _ XBrace |
 Clapkra Brace
+40 Amp Energy Pool.
|
 Juttni Brace
-1s Amp Recharge Delay.
|
 Lohrin Brace
+12% Amp Crit & Status Chance.
|
 Anspath Brace
+20 Energy Pool, +15/s Energy Recharge Rate.
|
 Suo Brace
+100 Energy Pool, +2s Amp Recharge Delay.
|
 Plaga Brace
-20 Energy Pool, -1.5s Recharge Delay.
|
 Certus Brace
+20% Amp Crit Chance.
|